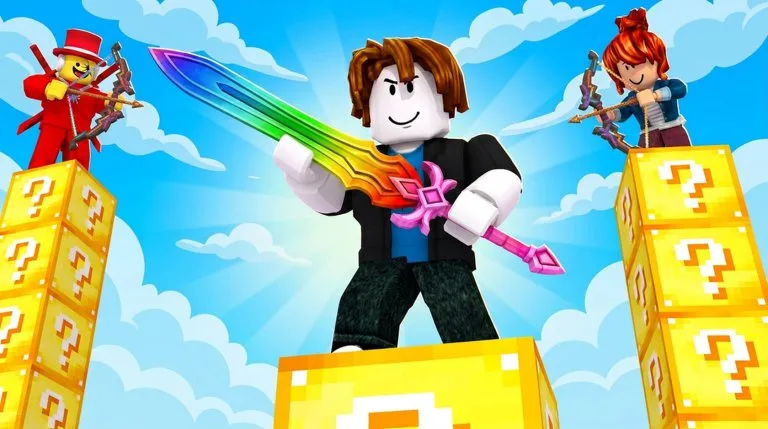
The win condition is the last player standing. Kills also fill the leaderboard, but an extra kill that spends your last apple can throw a round you were about to win. With at most seven other players, most mid-game fights are not clean 1v1s.
Phase 1: own the island
Clear every Lucky Block you can safely reach before you bridge out.
- Path the island so a Purple or Secret block in a back corner is not skipped.
- Swap to better swords and armor the moment they drop.
- Bank golden apples. Do not eat them for chip damage while you are still opening blocks.
- Note warp pearls and knockback tools. They matter at the edge later, not during the clear.
A player who spends a little longer on Purples and Secrets arrives with a better kit than the player who left first. Block tiers are in the Lucky Blocks guide.
Phase 2: leave only for a reason
Leave when the clear is done and you have a usable weapon plus armor, an apple, or an escape. Also leave when a nearby fight is already hurt and you can third-party it. Do not leave while blocks are still standing, while you only have a weak melee and no apple or pearl, or while two geared players are already holding the bridge you would have to cross.
Bridges are where guns and knockback matter. Chip, then commit. If a Jetpack or Thunder Hammer is in the lobby, keep a pearl for the swing or the flight angle that would knock you off.
Phase 3: mid-game
- Take an angle that is not the same bridge the current duel is using.
- Let the two fighters spend apples or armor before you show, when you can do that safely.
- Break line of sight after you land hits so a gun or hammer cannot free-fire you.
- Loot one upgrade and move. Standing on a body is how the next player finds you.
If you win a fight at low health and another player is already on screen, eat a golden apple. If the area is quiet, move to cover first, then heal.
Tools that swing a round
| Tool | Use it for |
|---|---|
| Golden apple | A close duel or the moment a third player arrives after you win a fight |
| Warp pearl | A knockback swing, Thunder Hammer pressure, or a lost trade. Not a casual teleport |
| Knockback Stick | Players already near a lip or the void. 19 Robux if you buy it for one round |
| Thunder Hammer | The same edge plan, with lightning pressure. 29 Robux for the round |
| Jetpack | About 30 seconds of flight for a rotate you cannot bridge. 29 Robux |
| Diamond Kit | A diamond sword and full diamond armor when block armor failed. 79 Robux |
| Guns | Soften a target, then swap to a sword |
These Robux rows are optional. A finished free clear still beats a panic buy made while Secret blocks are unbroken. Grades are on the items tier list.
When three or fewer players remain
Count apples, pearls, and knockback before you peek. If you are dry, look for a third party or leftover loot instead of starting the fight. Force the last players toward edges if you are the one with knockback. Save the pearl for the swing that would eliminate you, not for a vanity rotate.
You do not need a pass to do this. Second Chance, at 19 Robux, only shortens practice by putting you back in the round you died in. It does not aim for you. Pass order is in the game passes guide.